
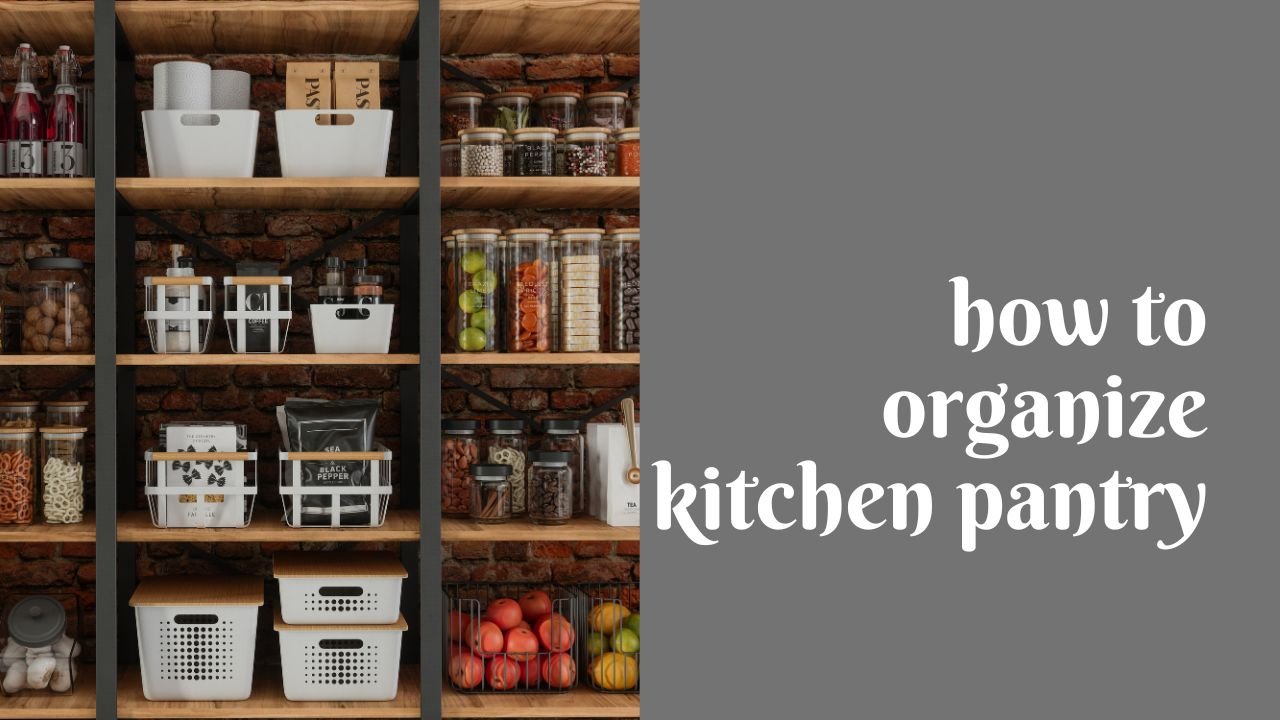
An organized pantry saves time, money, and stress. When everything has a place, you stop buying duplicates, food lasts longer, and cooking becomes easier.
If your pantry feels cluttered, messy, or overwhelming — don’t worry. You can completely reset it in a few hours with the right system.
Here’s a step‑by‑step guide to organizing your kitchen pantry in a way that actually stays organized.
Step 1: Empty Everything Out
Yes — everything.
Take all items off shelves and put them on a table or counter. This lets you:
- See exactly what you have
- Check expiration dates
- Wipe down shelves properly
- Start fresh
Throw away expired items immediately.
Be honest. If you haven’t used it in a year, you probably won’t.
Step 2: Clean the Shelves
Before putting anything back:
- Wipe shelves with warm soapy water
- Dry completely
- Vacuum crumbs from corners
- Add shelf liners (optional)
Starting clean helps maintain organization longer.
Step 3: Group Similar Items Together
Now sort items into categories.
Common pantry categories:
- Canned goods
- Pasta & rice
- Baking supplies
- Snacks
- Breakfast items
- Spices
- Condiments
- Oils & vinegars
- Drinks
Grouping is the foundation of good organization.
If items are mixed randomly, your pantry will never feel neat.
Step 4: Use Clear Containers (Game Changer)
Clear containers make a pantry look organized instantly.
Use them for:
- Rice
- Flour
- Sugar
- Pasta
- Cereal
- Snacks
Benefits:
- You see how much is left
- Less cluttered packaging
- Keeps food fresher
- Prevents spills
Label everything clearly.
Step 5: Use Bins for Small Items
Small packages create chaos.
Use baskets or bins for:
- Granola bars
- Chip bags
- Seasoning packets
- Baking extras
- Kids’ snacks
Label each bin so everyone in the household knows where things go.
Step 6: Store Items Based on Use
Place items according to how often you use them.
✅ Eye-level shelves → Daily-use items
✅ Lower shelves → Heavy items (cans, drinks)
✅ Upper shelves → Rarely used items
✅ Back of pantry → Backup stock
Accessibility keeps things organized long-term.
Step 7: Use Vertical Space
Most people waste vertical space.
Add:
- Stackable shelves
- Tiered risers for cans
- Door organizers
- Under-shelf baskets
These instantly double storage capacity.
Step 8: Rotate Food (First In, First Out)
When adding new groceries:
- Move older items to the front
- Place new items in the back
This prevents expired food buildup.
It’s a simple grocery-store method that works perfectly at home.
Step 9: Label Everything
Labels keep the system intact.
You can use:
- Printed labels
- Chalkboard labels
- Sticker labels
- Handwritten tags
Clear labeling reduces confusion and helps other family members maintain order.
Step 10: Keep It Minimal
An overstuffed pantry never stays organized.
If shelves are packed tightly:
- You can’t see items
- Things get lost
- Food expires unnoticed
Leave some breathing room.
Pantry Organization Layout Example
Here’s a simple shelf layout idea:
| Shelf Level | What to Store |
|---|---|
| Top Shelf | Extra supplies, special appliances |
| Eye Level | Snacks, cereal, everyday items |
| Middle Shelf | Pasta, rice, canned goods |
| Lower Shelf | Bulk items, drinks |
| Floor | Heavy storage containers |
| Door | Spices, small condiments |
Adjust based on your pantry size.
Small Pantry Tips
If you have limited space:
- Use matching containers to reduce visual clutter
- Add hooks inside the door
- Use lazy Susans for corners
- Store overflow items elsewhere
- Keep countertops clear
Small spaces require smarter systems.
Walk-In Pantry Tips
If you have a larger pantry:
- Create zones (baking zone, snack zone, breakfast zone)
- Use baskets for visual cleanliness
- Install lighting if it’s dark
- Add shelf risers for cans
Even large pantries get messy without zones.
Common Pantry Mistakes
Avoid:
- Keeping expired food
- Overbuying duplicates
- Not labeling containers
- Storing heavy items on high shelves
- Ignoring vertical space
- Mixing categories
Organization fails when systems are unclear.
How Often Should You Reorganize?
Light refresh: Every 1–2 months
Full reset: Every 6 months
Regular maintenance keeps it manageable.